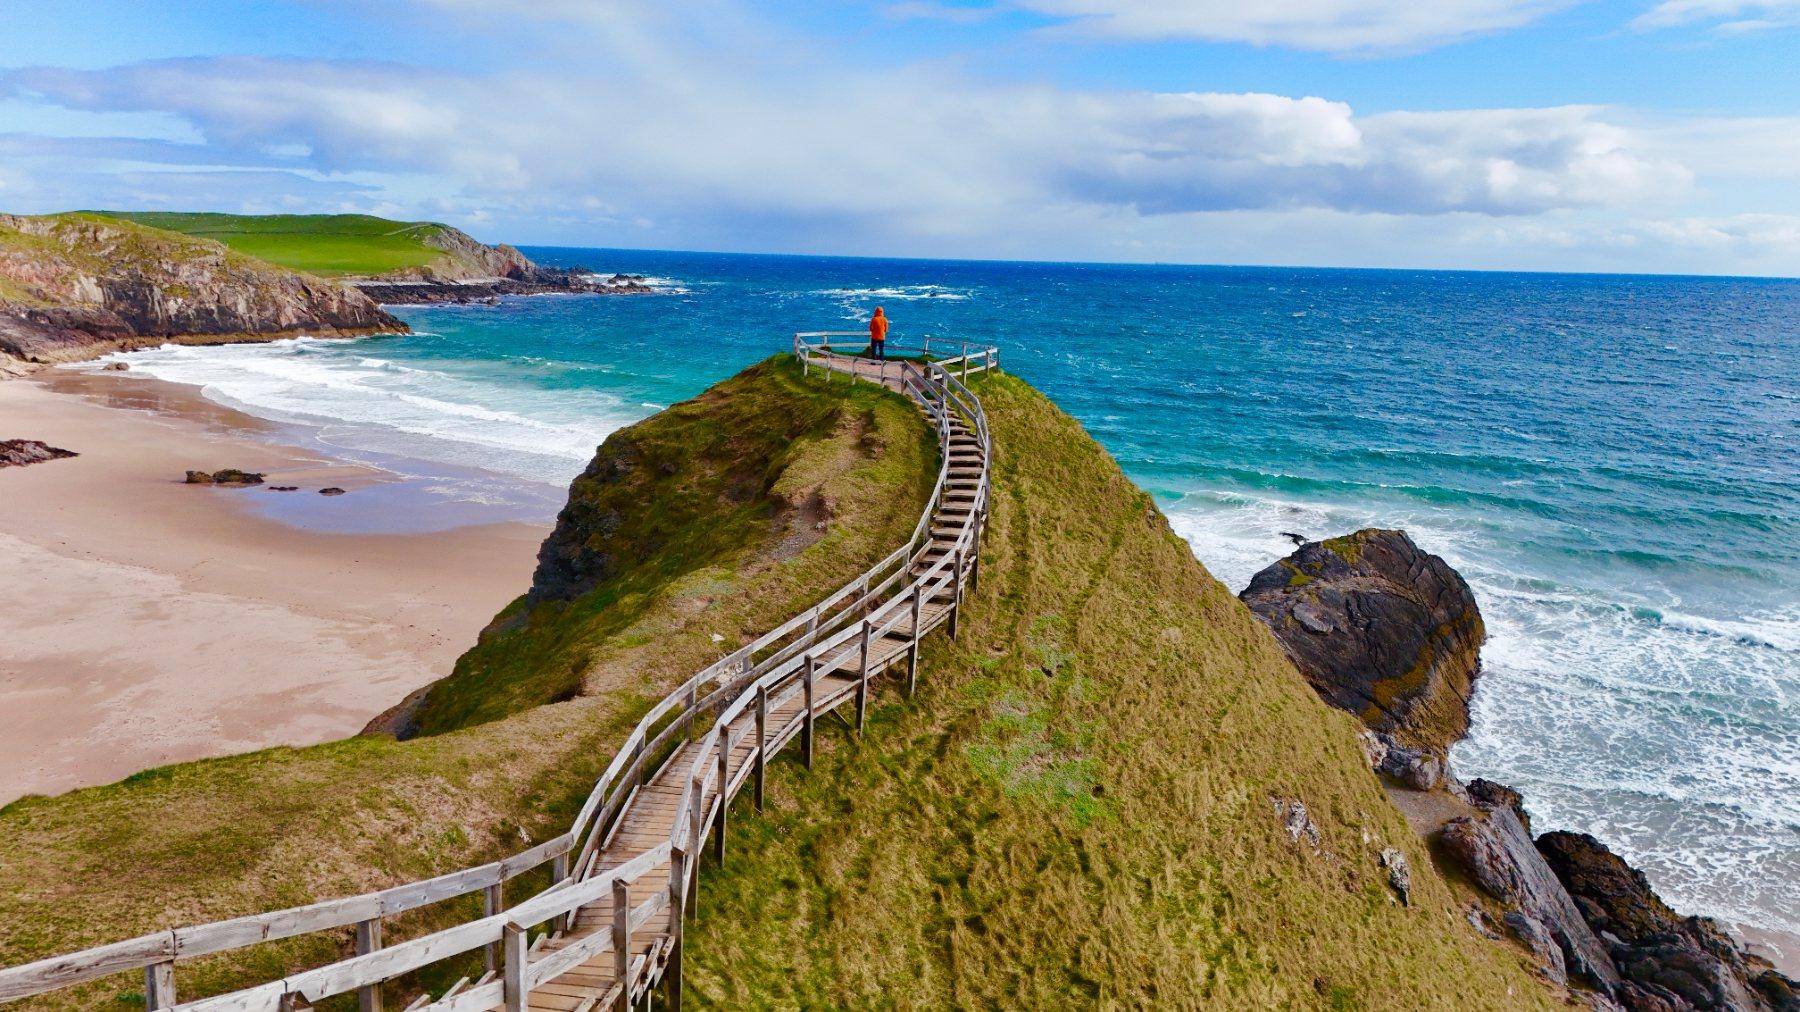
I come home from every trip with thousands of photos, and for a long time editing them felt like a mountain I was never going to get to the top of. These days most of my travel photos are taken on my iPhone, with aerials from my DJI Mini 4 Pro drone, and nearly everything goes through Adobe Lightroom. Over the years I’ve settled into a simple workflow that gets a whole trip edited without it taking over my life, and without the photos looking overcooked.
This is that workflow, step by step. It works in much the same way on your phone, on a laptop or in Lightroom Classic, as the sliders are pretty much the same even if they sit in slightly different places. Editing can only do so much with a weak photo though, so if you’re just starting out have a look at my guide on how to take better travel photos too.
Lightroom mobile or desktop: which should you use?
Lightroom (on your phone, tablet and computer) keeps your photos in Adobe’s cloud and syncs your edits across devices, and Lightroom Classic is the older desktop programme that keeps everything on your own drive. The mobile app has a free version covering the core sliders, while tools like masking and Remove need a paid plan, so check Adobe’s current plans.
I do a rough first pass on my phone while I’m still travelling, often in the evening in the campervan, and then finish the keepers on my laptop at home, as the bigger screen shows up problems I’d never spot on a phone. A few of the newer AI tools, like Denoise, are only on the desktop apps at the time of writing.
How to edit travel photos in Lightroom, step by step
I edit in roughly this order, as each step affects the ones after it, and plenty of my edits only use three or four of these steps.
1. Import and cull your photos
I go through the whole trip quickly and mark anything worth keeping with a pick flag and anything blurry or pointless with a reject flag (P and X on the keyboard, or the flag icons on mobile). Then I give the picks star ratings, three stars for anything worth editing and five for the real favourites, and filter so I’m only ever editing the good ones. Be ruthless, as nobody needs twelve versions of the same sunset.
2. Crop and straighten
A wonky horizon is the first thing people notice, so I always start here with the straighten tool, or the Auto option in the Geometry panel (Upright in Classic) for buildings. If it’s heading for Instagram, crop to 4:5 portrait now.
3. Choose a profile and set the white balance
With raw files the profile sets the starting look. Adobe Color is a good neutral default, Adobe Landscape adds a bit more punch, and the newer Adobe Adaptive profile gives each photo its own starting point. For white balance, use the eyedropper on something that should be neutral, or adjust Temp and Tint by eye. Don’t neutralise everything though, as the warm glow of an evening is half the reason you took the photo, and my guide to golden hour and blue hour photography talks more about that light.
4. Adjust the light (exposure, highlights, shadows, whites and blacks)
I set Exposure first, then pull the Highlights down to bring back the sky and lift the Shadows a little to open up a dark foreground. Then I set the Whites and Blacks so the photo has a proper bright point and dark point, which stops it looking flat. On desktop, holding Alt (Option on a Mac) while dragging those two sliders shows where you’re losing detail. Go easy on Shadows, or you get that grey, muddy HDR look.
5. Texture, clarity and dehaze (use them sparingly)
These live in the Effects panel in Lightroom and under Presence in Classic, and they’re the sliders most likely to ruin a photo. Texture brings out fine detail in rock and bark, Clarity adds midtone contrast and Dehaze cuts through haze. A little of each can be lovely, but Clarity quickly gives you crunchy halos and Dehaze turns skies dark and oddly saturated, so I rarely go beyond a nudge.
6. Colour, using HSL and colour grading
I use Vibrance far more than Saturation, as it boosts muted colours and leaves skin tones alone. The Color Mixer (HSL/Color in Classic) then lets you adjust each colour on its own. Phone and drone files can come out with slightly neon greens, which I noticed a lot in the rainforest in Costa Rica, so I often pull the green and yellow saturation down a little. Point Color is great for fixing one exact colour that’s come out slightly off.
Color Grading tints the shadows, midtones and highlights separately, like a little warmth in the highlights and a touch of cool in the shadows. Keep it subtle, as it’s very easy to end up with an orange and teal look that screams “edited”.
7. Masking the sky, subject and landscape
Masking lets you edit one part of a photo on its own, and the AI masks have made it so much quicker. Select Sky and Select Subject do a really good job in one tap, there are options for the background, people and objects, and since this spring there’s landscape masking too, which can pick out water, vegetation and mountains separately. It’s been really useful on my Scotland and Norway photos. I mostly make small, natural changes, like bringing a bright sky down slightly or warming a foreground that was in shade, and the Linear Gradient, Radial Gradient and Brush tools are still there when the AI gets an edge wrong.
8. Remove distractions with the Remove tool
The Remove tool is my go-to for sensor spots, litter, a stray sign or a vapour trail across the sky, and for bigger objects you can tick the option to use generative AI. There’s also Distraction Removal now, which can find and remove extra people in the background and reflections when you’ve shot through glass. I try to keep it honest though, so I don’t remove buildings or add things that weren’t there.
9. Lens corrections, sharpening and noise reduction
In the Optics panel, tick Enable Lens Corrections and Remove Chromatic Aberration to fix distortion, dark corners and coloured fringes. iPhone ProRAW and many drone raw files already have corrections built in, so don’t worry if there’s no profile to choose for those.
Keep sharpening gentle, and on desktop hold Alt while dragging the Masking slider to keep it off smooth areas like skies. The AI Denoise option on desktop is fantastic for blue hour, night and aurora shots, which I leant on a lot after my winter trip around Iceland. It needs a true raw file though, so it works on drone raw files but not on iPhone ProRAW, which has already been processed on the phone, and for those I use the regular Noise Reduction slider.
How to edit iPhone ProRAW and drone RAW files
Shoot raw on both your phone and your drone if you plan to edit, as the files hold far more detail in the highlights and shadows. ProRAW files often look a little flatter and darker than what you saw on your phone, which is normal, and a small boost to exposure and contrast brings them back.
Raw files from my Mini 4 Pro have lots of room to recover a bright sky, but the small sensor gets noisy if you lift the shadows too far, so I’d rather expose for the sky and use Denoise afterwards. Bracketed exposures can be merged into one HDR raw file with Photo Merge on desktop. My guide to drone travel photography covers the settings I use in the air.
Are Lightroom presets worth it?
Presets are saved groups of settings you apply in one click. Bought packs were made for someone else’s photos in someone else’s light, so they rarely look right on yours without lots of tweaking. Lightroom’s own Adaptive presets are a better start for beginners, as they use AI masks to adjust just the sky or subject.
What really works for me is making my own. Once I’m happy with one photo from a location, I copy its settings and paste them onto the others from the same place and light (or use Sync in Classic), leaving out the crop, masks and Remove edits, then tweak each one, and it gives the whole trip a consistent look.
Best Lightroom export settings for Instagram, web and print
- Instagram JPEG, sRGB, 1080 pixels wide and ideally a 4:5 portrait crop (1080 x 1350), quality around 80 to 90, with Output Sharpening for Screen. Instagram now supports a taller 3:4 ratio too, so check its latest guidance.
- Websites and blogs JPEG, sRGB, around 2000 to 2500 pixels on the long edge at quality 70 to 80, so pages load quickly.
- Print full size JPEG at quality 100 or a TIFF, at 300 ppi, with sharpening set for matte or glossy paper. Ask your print lab which colour space they prefer.
How to back up your travel photos
I always back up while I’m still away. My photos sync to the cloud whenever I have decent WiFi, and I copy everything onto a small portable SSD that lives in a different bag from my laptop, with another copy on a separate drive at home. If you use Classic, back up the catalogue as well, as that’s where your edits are stored.
How do you know if you’ve over-edited a photo?
Over-editing sneaks up on you. Watch out for glowing halos along the horizon, skies gone dark and heavy, radioactive greens, orange skin and crunchy detail everywhere. Press the backslash key on desktop, or tap and hold the photo on mobile, to flick between before and after, and if the before looks more natural, pull everything back.
And if you’re wondering what it all starts with, my guide to the best camera for travel explains why my phone does most of the work these days.
Frequently asked questions
Is Lightroom mobile free?
Yes, the Lightroom mobile app has a free version that includes the core editing tools, such as the light and colour sliders, cropping and a selection of presets. The more advanced features, including masking, the Remove tool and cloud syncing with desktop, need a paid Adobe plan. Plans and features change, so check Adobe’s website for what’s currently included.
What order should you edit photos in Lightroom?
A good order is to cull first, then crop and straighten, choose a profile and white balance, and adjust the light with exposure, highlights, shadows, whites and blacks. After that work on colour, then masking for local changes, remove distractions, and finish with lens corrections, sharpening and noise reduction. Working broadly to finely stops you undoing earlier changes.
Should I shoot RAW on my iPhone for travel photos?
If you plan to edit in Lightroom, shooting ProRAW is worth it for landscapes and tricky light, as the files hold much more detail in bright skies and dark shadows. The files are large though, so you’ll need plenty of storage. For quick snaps you won’t edit, the normal HEIC or JPEG files are perfectly fine and much smaller.
Are Lightroom presets worth it for beginners?
Presets are a useful starting point and a quick way to learn what different settings do, but bought presets rarely suit your own photos without adjustment, as they were made for different light. Lightroom’s free Adaptive presets are a good place to start. Better still, save your own preset from an edit you like and use it across a trip.
What are the best Lightroom export settings for Instagram?
Export as a JPEG in the sRGB colour space, 1080 pixels wide, ideally cropped to a 4:5 portrait ratio (1080 x 1350) so it fills more of the screen. A quality setting of around 80 to 90 and Output Sharpening for Screen at Standard works well. Instagram’s supported sizes change from time to time, so check its current guidance.